In this entry I'll show the process of making Assignment Two.
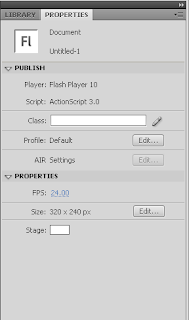
1. First off, open a file sized 320 px by 240 px in Adobe Flash.
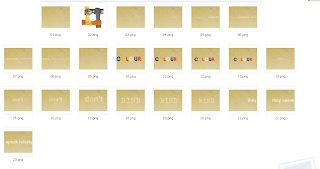
 2. Then use Adobe Photoshop/Illustrator to create the image that you would like to use in the motion. I used frame-by-frame method. I created 23 frames in Photoshop and saved all of it in .PNG formats with the same size as the stage in Adobe Flash 320 x 240 px.
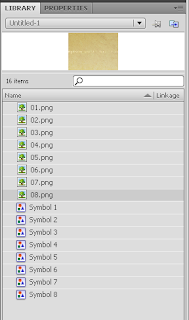
3. After that, I import all the images that I had just created in Photoshop to the Library in Adobe Flash.
 4. I used blurring technique and tween to make the image of the hand rotates. In order to do that, first I need to change it to Symbol.
5. For the background, I use a brownish-rustic texture background. The grey bar shows that the background layer will stay constant throughout the animation.
 6. For the moving typography, since I used frame-by-frame method, I keyframed the next word after the next word so it will look typed out.
 7. For the hands, I convert the hands image into Symbol for tweening purpose. I tween the symbol so it will rotates and use Alpha channel to blur it and play with the opacity.
 8. Next, I use 3 different size of fonts for every keyframe so that it'll look like it had been zoom in.
9. After that, I saved it with exporting it as .swf file.
That's all :D


No comments:
Post a Comment