Tuesday, May 17, 2011

17


Open Adobe Illustrator > pen tool > draw the shape of phone by using pen tool > go to fill > insert colour
Repeat the same step using the same tool > draw a drum and it's stick > filled colour
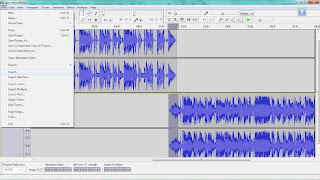


Start > programme > Audacity > file > import > audio or press ctrl + shift + I > select file > click the Selection Tool > drag the desired part > It is easier to edit when splited, use shortcut Ctrl+Alt+I or manually go to Edit > Split New > repeat the same step by selecting the last part of the music > Delete the middle part of the music by clicking the small 'x' icon next to the name of the music > Selection Tool > select the end of the first part of the music > Effect > Fade Out > select the second part of the music and Fade In, Effect > Fade In > repeat the same step to it does not sound awkward


Open Adobe Flash > file > new > select actionscript 3.0 > select ok >
go to Properties > saiz > select Edit > dimension : 550 px (width) x 400 px (height) > press ok


properties > stage > choose coolour #FED402


File > import > import to stage or ctrl + R > select file > press open > the file will be automatically transfer to the 'library' > drag the file anywhere on the stage> once you draged, it will be disappeared but it will appear at the timeline


All the words will be converted into a symbol : select word > press ctrl + F8 on your keyboard > create new symbol will pop up > add name , type : movie clip, Folder : library root > press Ok > the symbol will appear at library


To create motion on your stage used keyframe on your timeline > select one point on the timeline > right click > insert keyframe > drag symbol to your stage > gray line will appear with a black dot > go to the next frame at the same layer repeat the same step > move the symbol at other place on the stage > press ok > the symbol will create motion


To create motion used motion tween : select one point > right click > insert keyframe > drag symbol to your stage > gray line will appear with a black dot > right click > click create motion tween > gray line will chance to blue line > select any point on the blue line > move your symbol > dotted line can be seen on your stage > small diamond shape will appear at the blue line > do the same step to create verity motion > press ok to play


Name all the symbol at timeline layer > double click > rename > press enter on keyboard > file > save as > select place > ok

16


In this entry I'll show the process of making Assignment Two.

1. First off, open a file sized 320 px by 240 px in Adobe Flash. 2. Then use Adobe Photoshop/Illustrator to create the image that you would like to use in the motion. I used frame-by-frame method. I created 23 frames in Photoshop and saved all of it in .PNG formats with the same size as the stage in Adobe Flash 320 x 240 px.
3. After that, I import all the images that I had just created in Photoshop to the Library in Adobe Flash.4. I used blurring technique and tween to make the image of the hand rotates. In order to do that, first I need to change it to Symbol.

5. For the background, I use a brownish-rustic texture background. The grey bar shows that the background layer will stay constant throughout the animation.

6. For the moving typography, since I used frame-by-frame method, I keyframed the next word after the next word so it will look typed out.
7. For the hands, I convert the hands image into Symbol for tweening purpose. I tween the symbol so it will rotates and use Alpha channel to blur it and play with the opacity.
8. Next, I use 3 different size of fonts for every keyframe so that it'll look like it had been zoom in.
9. After that, I saved it with exporting it as .swf file.

That's all :D

Wednesday, January 12, 2011

15

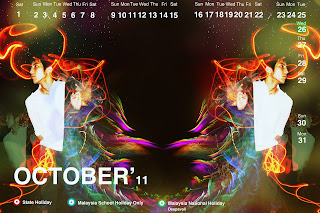
October Calendar

14

October Calendar

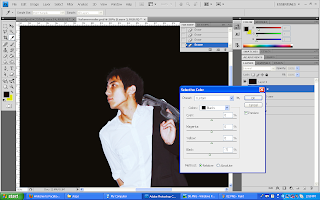
01. Extract the image using the same way as the September Calendar and pasted it on a new A4 file. Once you have done all that, brightened the image using Image>Adjustment>Selective Colouring with this settings.
02. By using the same technique with the previous calendar, used a 2500px white soft brush and dabbed it at the topmost of the image.
03. I also use the same starlight image and set the layer mode to Screen.
04. Added images of light and either set the layer mode to Screen or Lighten.05. I duplicated the image of the model and resized it to a smaller size and positioned it towards the left side and set the layer mode to Lighten.

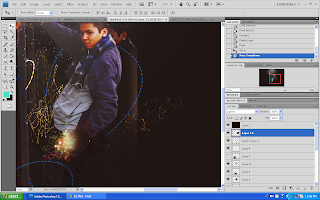
06. Do the same thing but this time positioned the image to the right top corner of the model and set the layer mode to Pin Light.07. Use Curves to brighten and contrast the image more.08. Go to Image>Applied Image, duplicated it, then transformed it so it will look like a mirror reflection.

09. Add the same colourful bokeh texture like before but this time set it to Hard Light. Play around with the opacity.

10. Next, add a fractal image as texture, duplicated it to both sides of the image and set the layer mode to Lighten.
11. Add the calendar template and we're done!

13

September Calendar

12

Calendar theme

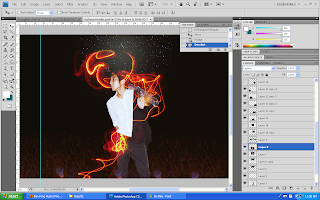
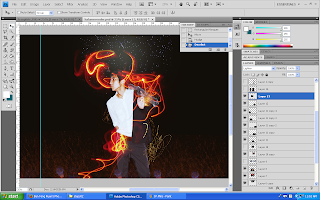
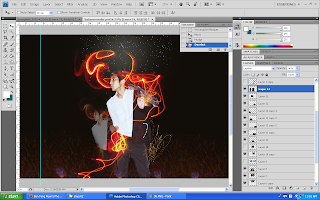
We decided to use dynamism of light as our theme. So I pondered on what to do with my composition and I finally decided to make it as double image. Yeah, so let's see how I done it.

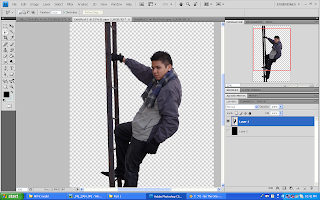
01. Extract the image you wanted to use using the Polygonal Lasso Tool and erase the edges very carefully using the Eraser Tool.
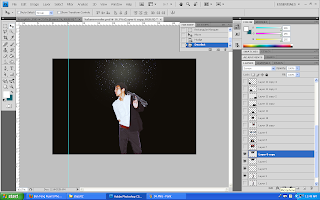
02. Then, opened up a new file, with the size of A4 & black background and pasted the extracted image unto the new file.I duplicated the image layer and set the duplicated layer mode to Vivid Light to brighten up the image.

03. I use #1b0702 colour and fill a new layer with the Paint Bucket Tool. I set the layer mode to Exclusion, so it will give a blue-ish, red-ish tinted colour to the image.

04. I still think that the image colour wasn't satisfactory enough, so I used Image>Adjustment>Selective Colouring with this setting.
REDS

YELLOWS
WHITES
BLACKS


04. Make a new layer then by using a 1500px soft brush, dabbed the topmost part of the image with the brush.05. Opened up a starlight-like image, copy and pasted it on the Calendar file.

06. Add light effect by copying and pasting some Light related images.
Set the image mode either to Lighten or Screen.

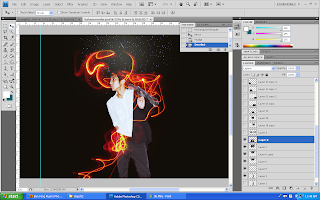
07. Using a dotted and swirly brush, make a swirly line across the image using bright neon colour.08. Add some more images of Light. Set the layer mode either to Screen or Lighten.
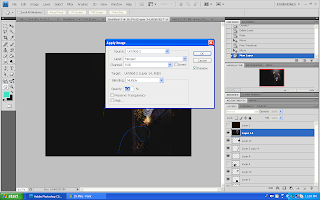
09. Make a new layer then Image > Apply Image. Duplicated the applied image layer and transformed it so it would be a mirror reflection to each other.

10. I added a swirly fractal texture and set it to Lighten because I think that it's too empty.
11. Next, I added a bokeh kind of texture and set the mode to Overlay to brighten the image with more colours.

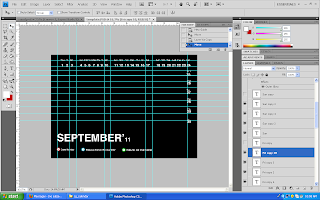
12. Then I add in the calendar template by Copy and Pasting it to my calendar image.To enhance the image more, I use Curves to brighten and contrast the dark spot.

Done :D
 

Blog Template by YummyLolly.com