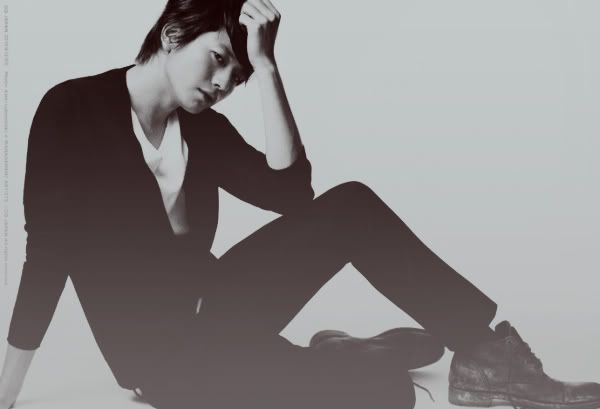
02. Click Ctrl + A to select the pic and Ctrl + C to copy it. Then click Ctrl + N to open a new workspace.
 03.Click ok, then press Ctrl + V to paste the pic in a new workspace. Then, press Ctrl + J to duplicate the layer of the base picture.
04. After that set the newly duplicated layer mode to Soft Light.
 Your picture should be a little more darker.
 05. Then, click the round-yingyang like button, at the bottom of the layer panel and choose Gradient Map > Black & White.
 06. Open up a new layer. Then go to the Image > Apply Image. Click ok.
 Tadaa, you got an applied image.
07. Set the newly applied image to Screen layer mode.
 You will notice that the overall pic should be lighter, as if more light was applied.
 08. Click the square colour box, to pick colour. Pick a colour of this setting.
 Set the layer mode to Multiply.
 The picture will look like it was illuminated with gray colour.
09. Again click the yingyang button and choose Gradient. Click OK and play with the opacity to your likings. I'm using 52% opacity.
 This will create a smoky effect.
 10. The last step would be to pick a colour with this setting.
 Open up a new layer and fill the new layer with this colour using Paint Bucket tool. Set the layer mode to Exclusion and play with the opacity.
 Right click at the layer and choose Flatten the Image, so that it'd only have one layer at the end.
 You will have something like this for the end result:
 Try it :D


No comments:
Post a Comment